How To Take Pot Lid Photos
Most pot lids are inherently difficult to photograph because of a curved reflective face. If you use a flash you will usually end up with a well lit subject but with shadows and or a shiny star on the face. Even bouncing the flash of a wall or ceiling can still leave some flash artifacts in your image. I am no expert in photography but the following setup is how I take pot lid photos and may hopefully help you the next time you pull out the camera.
Camera
The images in this article were taken with digital SLR camera. Pretty much any modern camera can take quality lid images. You don’t need an expensive setup. I do recommend the use of a tripod. A cable release is also handy but if not most cameras have a self timer which will work fine to keep the shot steady. All cameras have an internal algorithm that transposes light to a digital negative. Be aware the choice of backgrounds can change the appearance of the output image greatly as the camera tries to average out what’s going through the lens. If colors are important you can buy color cards to assist in manually adjusting your cameras settings. I confess I am lazy and use grey as a background if native color is important. Otherwise as most pot lids are white pottery, a black background gives a nice contrast.
Lens
If you use a SLR camera a 60mm lens works best for me on individual lids. For groups I use a 105mm. For other cameras a macro setting is preferential to make the subject fill the complete frame in the view finder. If this is not available zoom in with your cameras optical zoom as close as you possibly can. If your camera allows different focus modes try the spot focus first then work back to multi point. This can be beneficial as the outer area blurs and can save you time in Photoshop later. Adjusting the F stop or focal length can also do the same. Every camera is different and you will need a few test shots until you find your own best settings.
Lighting
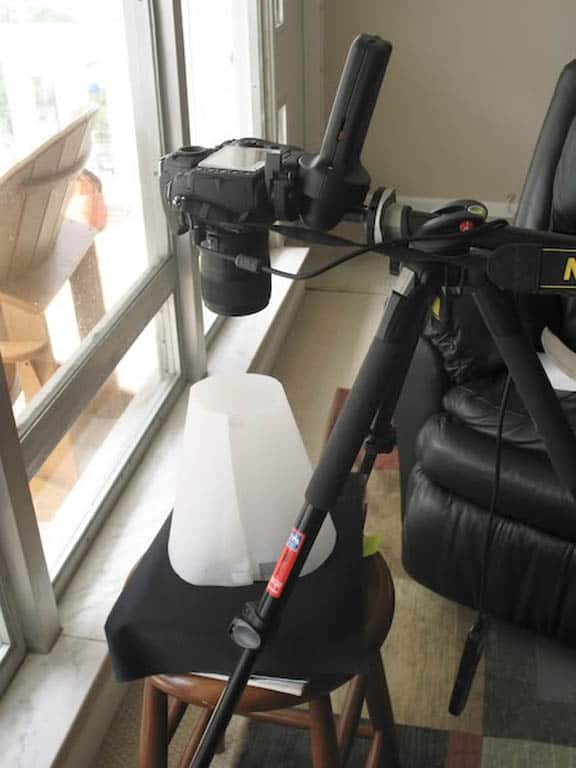
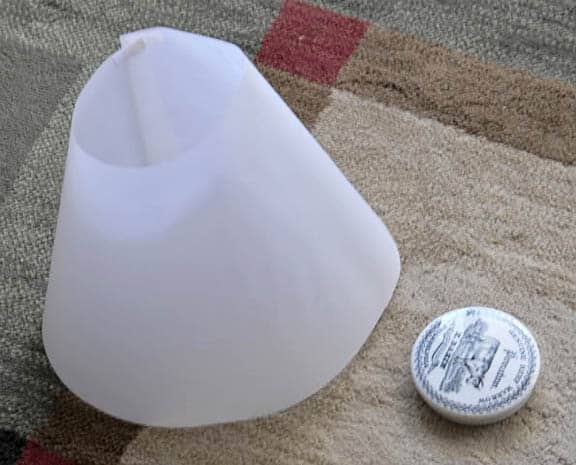
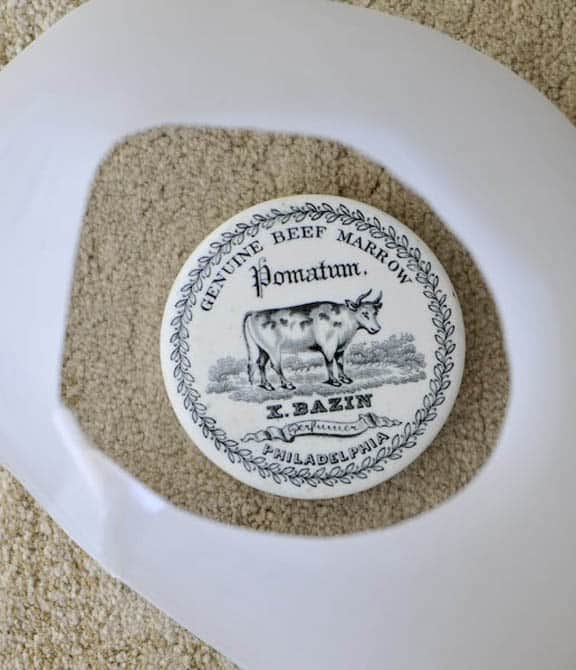
I prefer to use indirect natural light however if this is unavailable artificial lighting is fine but you will need to purchase 2 or 3 strong flood lights and stands. If you place your lid in direct sunlight the mirror like glaze reflects the sun and detracts the subject’s clarity. To negate this flare, photographing a single lid I use a small cone made of grease proof paper. To make the cone reusable I have a couple of pieces of velcro stuck up in the top and bottom corners so it can be laid flat for travel. As you can see below the lid outside the cone has the reflection of the light source and within the cone is defused. For groups of lids I swap the cone for a light tent. These are relatively inexpensive. Some folks have just as good a success using mosquito net.
The following photographs were taken inside my unit and one of the problems with this setup is the dark nature inside the room makes half the lid look dull and the other side facing the light bright. To alleviate this I grab the shiny silver dash board protector out of the car and wrap it around the rear half of the tripod facing the sun. This is an inexpensive way to distribute the light evenly. Here are some images with lids in direct and indirect light.
Here is the inexpensive cone and a lid showing the reflection of the outside light.
Now the difference with the light diffused
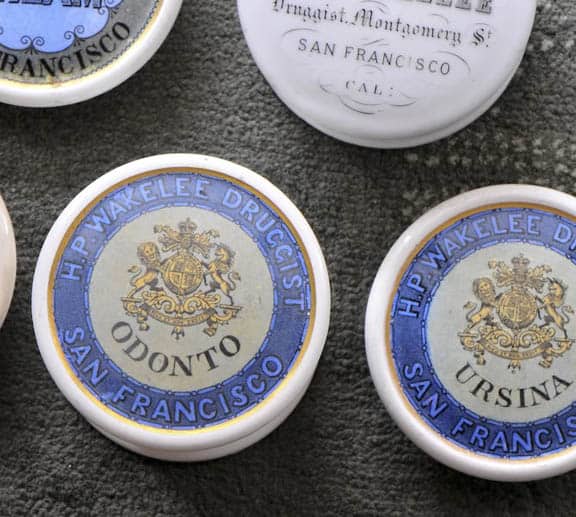
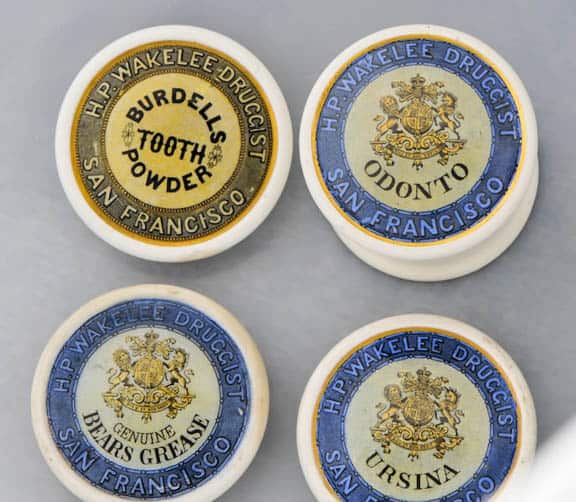
Note the glare and reflection on this group which looses clarity
Now inside the light tent
Greg Dean
www.deantiques.com
![LidPhotos2of7[1]](https://www.fohbc.org/wp-content/uploads/2011/12/LidPhotos2of71.jpg)
